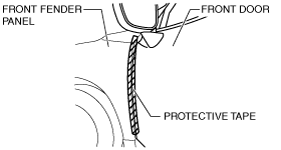
Caution
• Overlap and adhere the protective tape to the position shown in the figure to prevent damage to the front fender panel and front door.
am6zzw00009431
|
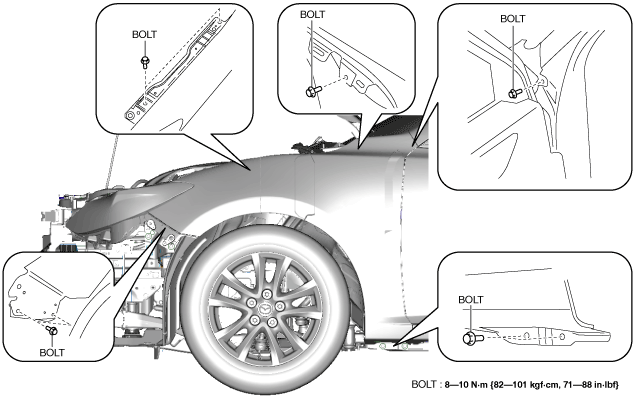
FRONT FENDER PANEL REMOVAL/INSTALLATION
id091000801000
am6zzw00009431
|
1. Disconnect the negative battery cable. (See NEGATIVE BATTERY CABLE DISCONNECTION/CONNECTION [SKYACTIV-G 1.5, SKYACTIV-G 2.0, SKYACTIV-G 2.5].) (See NEGATIVE BATTERY CABLE DISCONNECTION/CONNECTION [MZR 1.6].) (See NEGATIVE BATTERY CABLE DISCONNECTION/CONNECTION [SKYACTIV-D 2.2].)(See NEGATIVE BATTERY CABLE DISCONNECTION/CONNECTION [SKYACTIV-D 1.5].)
2. Remove the following parts:
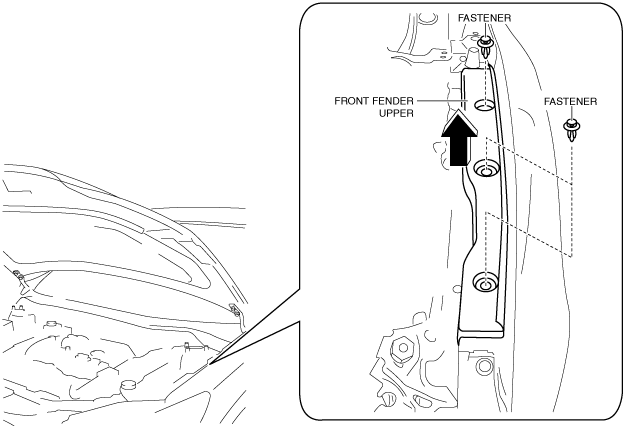
3. Remove the fasteners.
am3uuw00011609
|
4. Remove the front fender upper in the direction of the arrow shown in the figure.
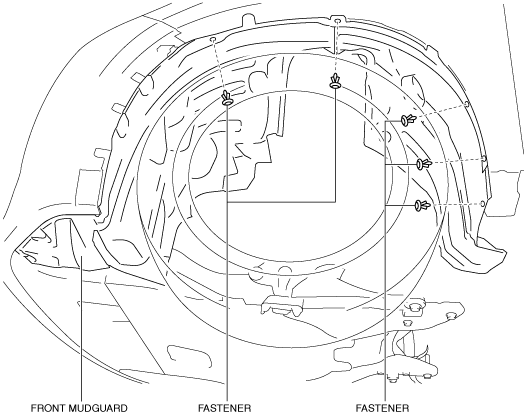
5. Remove the fasteners.
am3uuw00011610
|
6. Partially peel back the front mudguard.
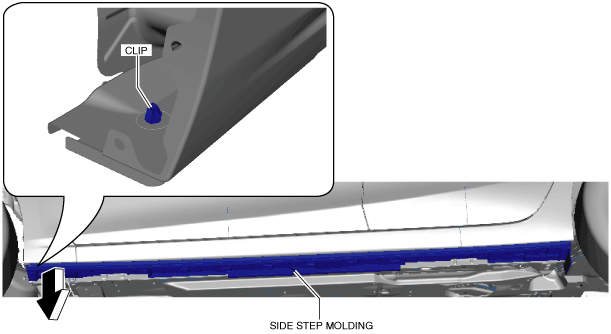
7. Move the side step molding in the direction of arrow shown in the figure and remove clip from the body while pinching clip using pliers.
am3zzw00014300
|
8. Remove the bolts shown in the figure.
am3uuw00011611
|
9. Remove the front fender panel.
10. Install in the reverse order of removal.
11. Adjust the headlight aiming. (See HEADLIGHT AIMING.)